
How To Repair Water Damaged Ceiling Drywall: A Complete DIY Guide
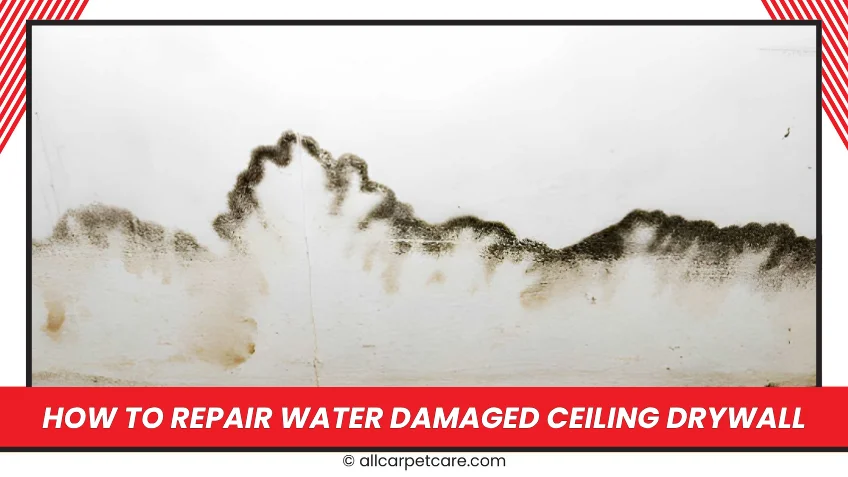
A stained spot on your ceiling isn't just an eyesore, it's a warning. A leak, either from a pipe or the roof, can transform a minor blemish into a significant problem, potentially compromising the structure itself. Understanding how to repair water damaged ceiling drywall is a useful skill, one that can save you money and help keep mold at bay. But it's more than just slapping on a fresh coat of paint; it demands proper drying and meticulous patching.
At All Carpet Care, we help homeowners navigate the steps involved for how to repair water damaged ceiling. This article offers a comprehensive guide to tackling ceiling water damage yourself, but safety is paramount. You'll discover not just the fix for water damaged ceilings, but also how to recognize when a sagging ceiling demands a professional's touch. Fixing a ceiling that's taken on water damage isn't just about slapping on some paint. It demands a solid understanding of drywall and how moisture works. So, before you grab your tools, let's walk through the essential steps to get your ceiling back in shape.
Proceeding With This Diy Repair: Is It A Good Idea?
Before you start any work on how to repair water damaged ceiling areas, you need to evaluate the structural soundness of what's above. A ceiling saturated with water is heavy. If the drywall is bowed or has a sponge-like texture, it's likely water damaged and sagging. Attempting to repair a ceiling in that state is hazardous; it might collapse without warning.
Here's a quick safety check:
-
Surface Feel: If the area is stained but feels structurally sound, you're likely in the clear to begin addressing the water damage.
-
Electrical Safety: Check for fixtures near the stain. Turn off the breaker before attempting how to fix water damage on ceiling near wiring.
-
The Sag Test: Sagging ceiling water damage indicates that the gypsum core has failed. In this scenario, ceiling water damage restoration should be handled by professionals with containment equipment.
If the ceiling passes these checks and the leak source is fully repaired, you are ready to move forward with how to repair water damaged ceiling.
Step-by-Step Guide: How to Repair Water Damaged Ceiling
This section provides a precise method for how to fix water damaged ceiling materials. Follow these steps carefully to achieve a smooth, invisible finish.
Preparation and Material Removal
Cover floors and furniture with plastic drop cloths. Fixing ceiling drywall after water damage creates a fine dust that can spread easily. Wear safety glasses and a dust mask.
Cutting Away the Unsound Area
Locate ceiling joists using a stud finder. You must anchor your repair to solid wood. Using a utility knife or drywall saw, cut a clean square around the stain. This is a critical part of how to repair ceiling water damage because ragged edges are harder to tape. Remove the damaged piece. This exposes the cavity for ceiling water damage restoration.
Drying the Internal Cavity
Even if the surface feels dry, moisture may linger behind. Proper how to repair water damaged ceiling technique requires patience. Position a fan or dehumidifier to blow air into the open hole for at least 24 hours. Skipping this step undermines how to fix water damage on ceiling long-term, as trapped moisture leads to mold.
Patching and Finishing Techniques
Measure the opening and cut a matching piece of drywall (match the thickness, typically 1/2 inch). Secure the patch to the exposed joists with drywall screws every 8 inches. This secures the area against future sagging ceiling water damage.
Taping and Mudding the Seams
Apply a thin layer of joint compound over the seams. Embed paper tape into the compound, pressing out wrinkles. Smooth edges are the secret to how to repair water damaged ceiling invisibly. Allow to dry, then apply two more coats, widening the knife with each pass to feather the edges.
Sanding and Priming
Once dry, sand the compound until it is flush with the surrounding ceiling. Use a fine-grit sanding sponge. Apply a stain-blocking primer. This is the most overlooked step in how to fix water damaged ceiling projects. Without primer, the brown water mark will bleed through new paint within hours.
Painting the Ceiling
After the primer dries, paint the entire ceiling from edge to edge. Spot-painting will result in a visible sheen difference. This last step wraps up the visual side of fixing water damage on a ceiling.
When to Get Help From Professional
Even though this guide shows you how to handle ceiling water damage, some situations are best left to the pros. Reach out to All Carpet Care if you encounter:
-
Extensive Mold: If you see black, green, or white fuzzy patches, you'll need antimicrobial treatments and containment to safely restore the ceiling.
-
Largescale Sagging: When ceiling sagging covers an area larger than two feet by two feet, the weight of a new drywall patch makes it difficult to install overhead.
-
Lingering Odor: If the musty smell refuses to budge, despite your efforts to address the water damaged ceiling, the problem probably lies with concealed moisture. Professional drying equipment is likely needed to tackle the insulation or framing.
Knowing how to repair water damaged ceiling drywall lets you keep your home looking good and holding its worth. The steps for fixing ceiling water damage, as described earlier, are great for small stains. But if you find sagging damage or just want a perfect result, All Carpet Care can help. Contact us today for expert ceiling water damage restoration, and we'll do the hard work, so you can have a clean, safe ceiling again.